Disclosure: As an Amazon Associate I earn from qualifying purchases. This page may contain affiliate links, which means I may receive a commission if you click a link and purchase something that I have recommended. There is no additional cost to you whatsoever.

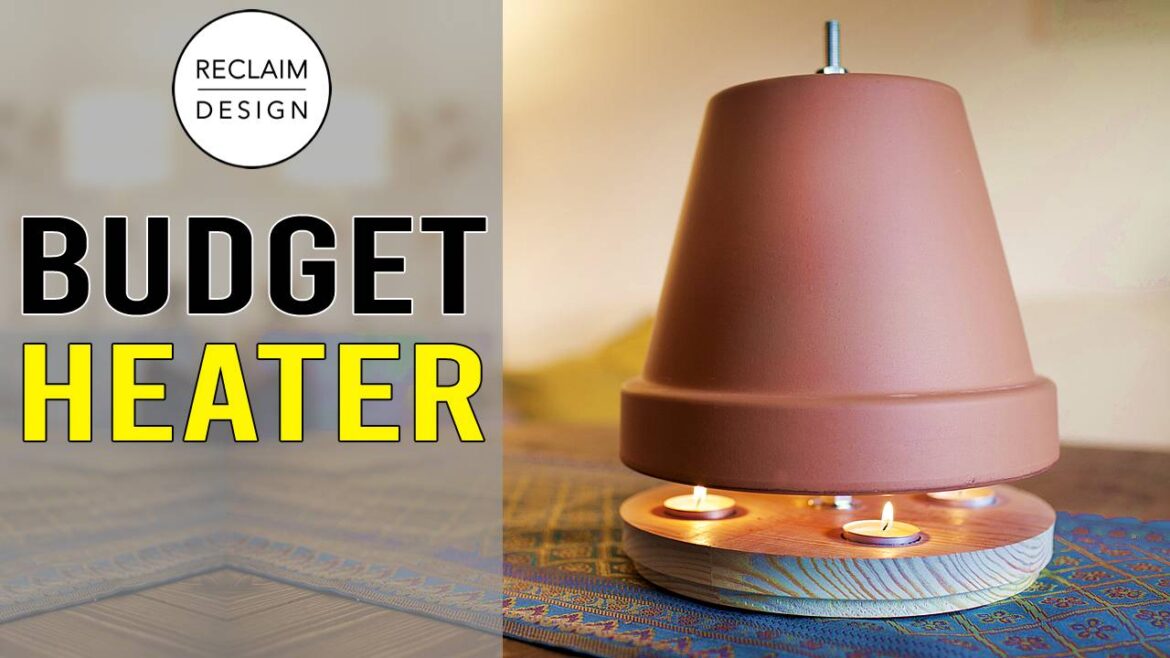
Staying heat on a finances or simply including a country contact to your own home is simple with a terracotta pot heater. Learn keep heat with out breaking the financial institution by constructing a DIY clay pot heater at house. This straightforward challenge will aid you escape the chilly and create a comfortable environment in your house.
For an in depth walkthrough of the method, try our DIY clay pot heater tutorial video on YouTube.
Materials Required
Luckily, this heater challenge doesn’t demand an extended purchasing listing. Plus, the objects wanted are available and gained’t break the financial institution. Bonus!
- 1x Large Terracotta Plant Pot
- 1x Medium Terracotta Plant Pot
- 1x 10M Threaded Bar
- 8x 10M Nuts
- 1x 10M Nyloc Nut
- 6x 10M Washers (massive sufficient to cowl the holes within the terracotta pots)
- 1x Base (I made a round picket base out of reclaimed wooden, however you should utilize a terracotta plant pot base if woodworking isn’t your factor)
- 4x Tealight Candles
While chrome steel threaded bar, nuts, and washers are another, they arrive at the next price. Some on-line feedback warning towards utilizing galvanized threaded rod and nuts or washers attributable to potential zinc oxidation and the emission of poisonous gases. Upon investigation, zinc oxidizes at 1600 °F, a temperature tealight candles don’t attain. Moreover, positioning the candles removed from the threaded rod eliminates direct heating, making security considerations unwarranted. After an 8-hour check run, neither the rod nor the nuts or washers emitted any odor, seen gases, or discoloration, indicating the setup’s security.
You will begin by making a round picket base from scrap wooden. This is protected, as warmth rises and doesn’t have an effect on the wooden given the wax is contained throughout the aluminium tealight cups.
Time Investment
Making the round picket base and assembling the terracotta pots and {hardware} takes about an hour. If you choose out of constructing the reclaimed wooden base, the challenge shall be faster.
Step-by-Step Guide
- First, assemble a neat picket base to accommodate the tealight candles and {hardware}.
- Glue and dowel two items of 3cm (1.18 inches) thick pine offcuts, letting them set in a single day.
- Next, sq. the wooden to suit the terracotta pot you have got. We went with roughly 25cm by 25cm (9.8 inches x 9.8 inches).
- Create a circle slicing jig for the desk noticed to chop the circle, a course of not coated on this tutorial. Once arrange, it can make fast work of slicing the wooden.
- Dividing the circle into 4 squares, drill a 40mm (1.6 inches) gap within the middle of every to carry the tealights. This maintains a protected distance between candles to forestall flash burns. Using a forstner bit ensures a flat backside, and leaves the tealights barely protruding for straightforward removing.
- Then, drillea 40mm (1.6 inches) recess within the base to accommodate a nut and washer, and a 10mm (4/10s of an inch) gap during the middle for the threaded bar.
- Using an angle grinder, minimize a bit of the threaded rod to roughly 30cm, roughly gauging the required size towards the pots and marking it with a everlasting marker. Since threaded bar solely is available in 1-meter (39.4 inches) lengths, it’s possible you’ll must do the identical. Alternatively, a hacksaw can be utilized if an angle grinder is unavailable.
- Next, use a router with a coving bit so as to add an ornamental aptitude to the bottom and facilitate straightforward lifting.
- To forestall slippage throughout use, affix small rubber strips to the bottom with epoxy.
- While the picket base complemented the pots properly, you should utilize an upturned terracotta plant pot base if woodworking isn’t possible. Placing the pots on bricks can be an possibility however lacks aesthetic attraction.
- Secure a nyloc nut and washer to 1 finish of the threaded bar and recessed it into the picket base. We opted for a nyloc nut for added safety, because it helps all the construction, stopping loosening. Due to area constraints, recessing two nuts throughout the 3cm (1.8 inches) base thickness wasn’t possible with out compromising integrity.
- Proceeded to construct the construction as follows:
- 1 washer, then 2 nuts to safe the bottom’s prime.
- 2 nuts, adopted by a washer to help the medium-sized terracotta pot. Adjust as wanted for desired peak, leaving a 3cm air hole for airflow and ease of tealight placement.
- The medium terracotta pot.
- 1 washer, 2 nuts, then one other washer to separate the medium pot from the massive one.
- The massive terracotta pot.
- Finally, capped off with 1 washer and a pair of nuts.
- Tighten every set of nuts as you go, utilizing two spanners if obligatory.
How to Use
Using the terracotta pot heater is a breeze. Place 4 tealights within the recesses and light-weight them in place with matches or a range lighter. It takes roughly 45 minutes for the pots to warmth up, and the tealights burn for about 4 hours.
While the heater gained’t win awards for heating massive areas, it does present a comfortable environment and helps dry out the air. We didn’t conduct rigorous scientific assessments, however it made our small lounge extra comfy. Plus, it doubles as an enthralling hand hotter. Just bear in mind:
- Never go away the heater unattended.
- Avoid protecting the heater; the terracotta pots get scorching!
- Use solely tealights, not candles, as they arrive in a metallic cup, stopping wax spills and igniting.
- Refrain from transferring the heater as soon as lit to forestall spilled wax.
- Opt for high-quality, unscented tealights, as scented ones might trigger flash burns.
- Exercise warning when blowing out the tealights to forestall wax spray.
- For added security suggestions, check with candle safety guidelines.
With these precautions in thoughts, benefit from the cozy heat and ambiance of your selfmade terracotta pot heater!
About The Authors
Michael Martin and Nikki Rixon began their enterprise Reclaim Design in 2013. Subscribe to their YouTube channel for extra movies full of sensible recommendation, eco-friendly suggestions, and inspiration that will help you dwell a extra sustainable life.