Disclosure: As an Amazon Associate I earn from qualifying purchases. This page may contain affiliate links, which means I may receive a commission if you click a link and purchase something that I have recommended. There is no additional cost to you whatsoever.
Looking to develop your space for storing with out splurging on a brand new shed? Consider making one from reclaimed wooden. Not solely is it sustainable, but it surely additionally provides rustic attract to your yard. Follow our step-by-step information to constructing a roomy shed from reclaimed supplies.
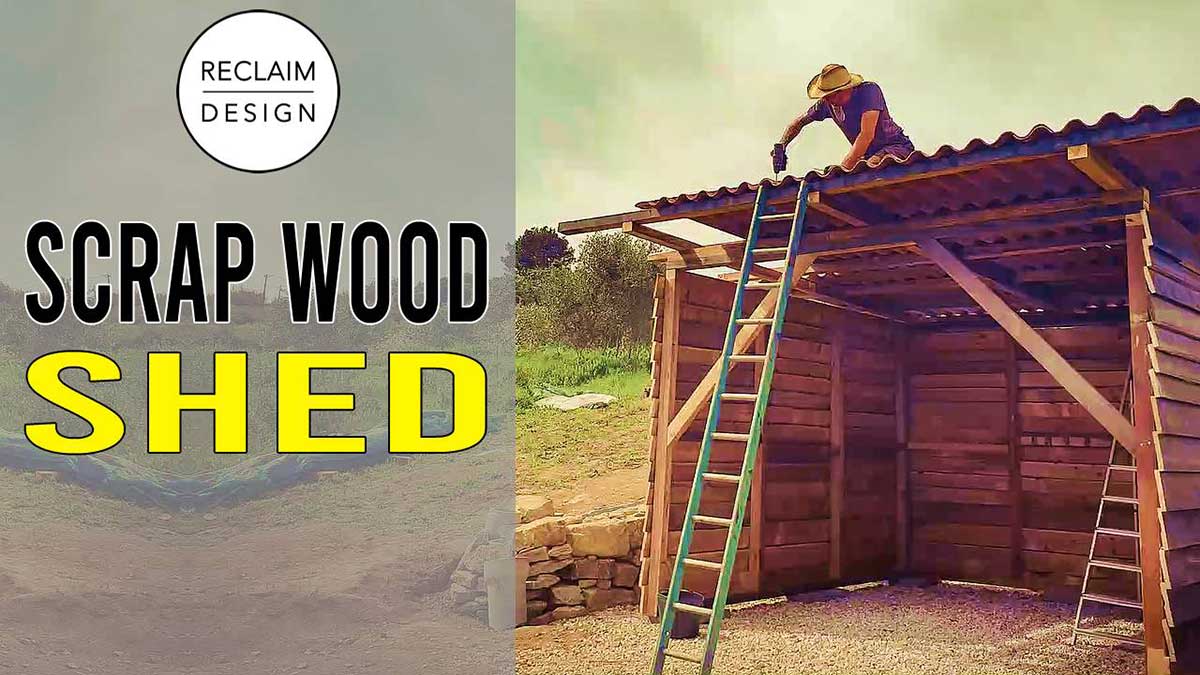
Follow the steps we recorded after we had been tasked with relocating a horse secure to a brand new website and repurposing the wooden salvaged through the deconstruction right into a spacious shed. For a walkthrough, try our video documenting our reclaimed wooden shed construct on YouTube.
[embedded content]
Reclaimed wooden is on the market from quite a lot of sources, together with Home Depot, local lumber dealers, from renovation initiatives (search for barn renovators to seek out a variety of planks), and even on-line from Stikwood, Centennial Woods, Woody Walls, and Urban Wood Goods, amongst others.
Step 1: Design Your Shed
Sketch your shed’s measurement and form, contemplating its objective—be it storage, workspace, or else. Incorporate measurements into your design. If you’re at a loss for inspiration or drawing abilities, designs are available for purchase and free on-line.
Step 2: Gather Your Supplies
First, accumulate the required supplies and instruments.
- Reclaimed wooden for framing and partitions
- Roofing supplies (shingles or metallic sheets)
- Nails or screws
- Saw
- Hammer or drill
- Level
- Measuring tape
- Safety glasses
Step 3: Prepare the Building Site
Clear particles and degree the bottom the place you’ll construct your shed, making certain a secure base.
Step 4: Construct the Frame
Using reclaimed wooden or, when you couldn’t supply used 2x4s or 4x4s, new lumber, begin by constructing the shed body. Cut and be part of items securely, making certain degree and sq. alignment.
Step 5: Erect the Walls
Attach reclaimed wooden panels to the body, leaving area for a door. If it’s worthwhile to discover ways to body a door, examine this wonderful wikiHow article.
Step 6: Install the Roof
Follow producer directions to put in the roof utilizing chosen supplies. Ensure a safe, watertight match.
Take the Next Step: Personalize Your Shed
Add closing touches equivalent to cabinets, hooks, paint, or home windows to customise your shed to your liking.
Crafting a spacious shed from reclaimed wooden provides each sustainability and magnificence, offering further storage with out breaking the financial institution. Follow these steps to create an environmentally-friendly, practical shed you’ll take delight in. Happy constructing!
About the Authors
Michael Martin and Nikki Rixon began their enterprise Reclaim Design in 2013. Subscribe to their YouTube channel for extra movies stuffed with sensible recommendation, eco-friendly suggestions, and inspiration that can assist you reside a extra sustainable life