Disclosure: As an Amazon Associate I earn from qualifying purchases. This page may contain affiliate links, which means I may receive a commission if you click a link and purchase something that I have recommended. There is no additional cost to you whatsoever.

Ditch the bizarre, embrace the extraordinary! Made with live-edge, pure wooden and cradling delicate vegetation in glass, check tube vase terrariums deliver a contact of magic to your area.
Forget boring planters and predictable pots – watch our video under to discover ways to construct your individual gorgeous live-edge stands, showcasing nature’s magnificence with trendy design aptitude. Imagine single flowers suspended in glass, their roots like tiny artistic endeavors, held by a singular piece of handcrafted, organically formed wooden. These pure beauties elevate your private home or workplace, including a contact of class you’ll be able to’t purchase on the retailer. Ready to unleash your creativity and create like a professional? Let’s do it.
Watch our video tutorial and comply with the instructions under.
[embedded content]Finding Our Perfect Pieces
The journey begins with selecting the wooden for our check tube vase holders. The thrilling half? There’s no one-size-fits-all reply! Use no matter speaks to you, unleashing your creativity to create a singular dialog piece.
We opted for live-edge wooden, scouring the offcuts at an area sawmill. Remember, the secret’s discovering items that complement your check tube dimension. For our 15cm vases, we selected wooden chunks giant sufficient to comfortably maintain them with out showing comical or cramped.
So, ditch the ruler and embrace the liberty! Trust your eye and instinct, and also you’ll uncover the proper wooden companions in your mission.
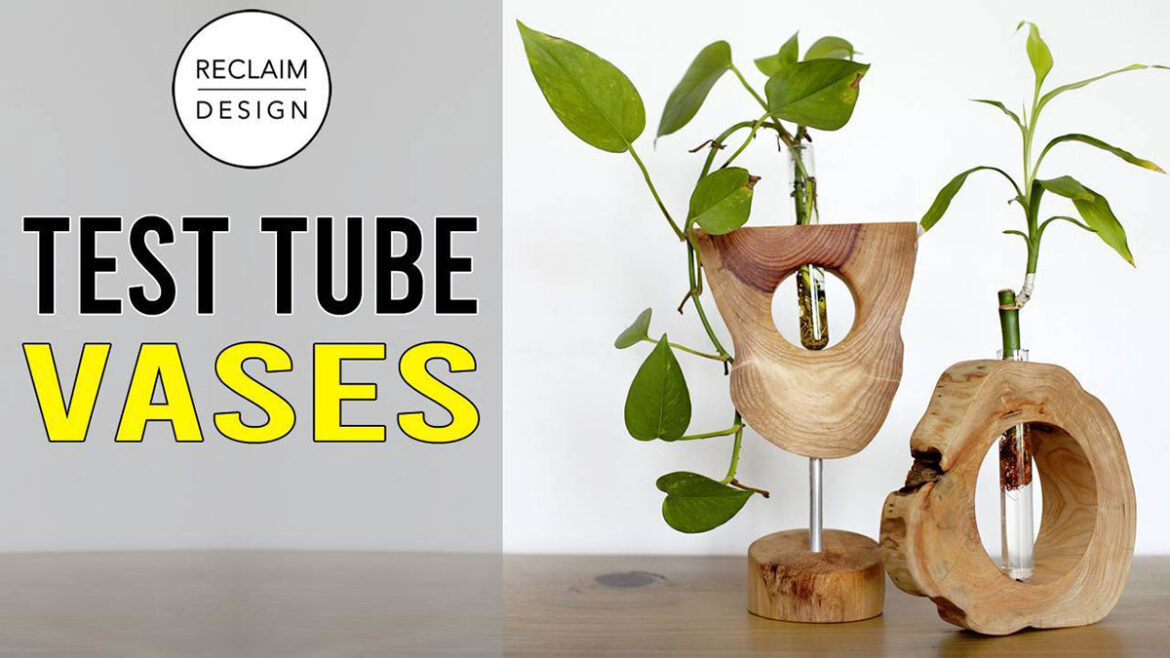
2 Test Tube Stand Designs to DIY
To maximize our trusty live-edge wooden scraps, we crafted two distinct check tube vase stands. One design cleverly repurposes the cutout from the opposite as its base, embodying our “waste not need not” philosophy. Both showcase the pure great thing about the dwell edge whereas making certain the check tubes stay the star of the present. Here’s a more in-depth take a look at our creations…
Tools & Materials
This mission is all about flexibility, so don’t fear about having each precise merchandise! Here’s the overall toolkit:
- Drill press: Recommended for exact holes. If you don’t have one, a drill information would possibly assist.
- Forstner bits: Sizes rely in your check tube and wooden thickness. We used 60mm and 22mm.
- Hole noticed: We used a 102mm (about 4 inches) gap noticed, however any dimension appropriate in your stand design works.
- Drill bits: We used a 9.5mm (0.37 inches) bit for attaching the aluminum tube.
- Aluminum tubing: Choose a diameter and size that matches your design. Ours was 9.7mm x 15cm (0.37 inches by 5.9 inches)
- 2-part epoxy: For adhering the tube to the stand.
- Sandpaper (120 & 240 grit): Smooths the wooden. Sanding with extra grits is non-obligatory.
- Finishing oil: We used Osmo oil, however select any end you want.
Adjust sizes and supplies based mostly in your particular design and preferences. Don’t stress about precise measurements or having each instrument – be artistic and have enjoyable.
This information outlines constructing two gorgeous check tube vase stands utilizing live-edge wooden. While the wooden’s asymmetry provides a singular appeal, it additionally presents some drilling challenges. We’ve developed two variations, utilizing various kinds of wooden.
Cedar Dream
- Choose Your Canvas: Pick a live-edge piece that appeals to you visually and functionally. Look for a flatter aspect for the bottom and contemplate belt sanding for changes.
- Centering the Hole: Ditch the measuring tape! Use your eye to place the outlet noticed, contemplating the wooden’s pure form. Drill fastidiously, beginning with the bigger gap noticed and ending with a hand drill for precision.
- Test Tube Niche: Again, use your eye to heart a smaller gap for the check tube to sit down on the bottom created by the earlier step. Refer to the video for visible steering if wanted.
- Sanding Symphony: Belt sand either side and the sides with 120 grit, preserving the live-edge character. Finish with a random orbit sander and hand sanding for particulars (240 grit).
- Finishing Touch: Apply Osmo oil for a good looking matte end.
Fir Power
- Shaping the Base: This piece advantages from a straight edge lower with a miter noticed. Invert it for a singular base, and repurpose the leftover gap noticed cutout from Design 1 and aluminum tubing for a stand extension.
- Eye-Centered Drilling: Similar to Design 1, use your eye to heart the outlet, contemplating the wooden’s form. This time, use a 60mm Forstner bit as a result of smaller working space. Secure the wooden to a bigger piece of plywood for stability whereas drilling.
- Test Tube Haven: With the straight edge as a information, measure and mark the middle for the check tube gap. Drill by means of the highest part so the tube rests on the Forstner bit base.
- Sanding Finesse: Belt sand the back and front with 120 grit, however hand sand the extra delicate live-edge circumference. Finish with a random orbit sander and hand sanding (240 grit) for the Forstner bit holes.
- Osmo Magic: Apply Osmo oil for a shocking matte end.
Clamp live-edge items securely when drilling. This is the trickiest and most harmful step, so prioritize security. Take your time! Enjoy the method and also you’ll obtain a unbelievable consequence. Always put on PPE!
Feel free to regulate sizes and supplies based mostly in your preferences. Embrace the asymmetry – it provides character! Refer to the video for detailed visible directions.
About the Authors
Michael Martin and Nikki Rixon began their enterprise Reclaim Design in 2013. Subscribe to their YouTube channel for extra movies crammed with sensible recommendation, eco-friendly ideas, and inspiration that can assist you dwell a extra sustainable life.